
How to Properly Cut and Thread Black Iron Pipe ?

Working on a pipe project? A bad cut or thread can cause dangerous leaks. Don't risk property damage and failed inspections. I'll show you the exact steps for a perfect connection.
To cut and thread black iron pipe, first secure it in a vise. Use a pipe cutter for a clean cut, then ream the inside edge. To thread it, use a manual or power threader with plenty of cutting oil, making quarter-turns back to clear chips.

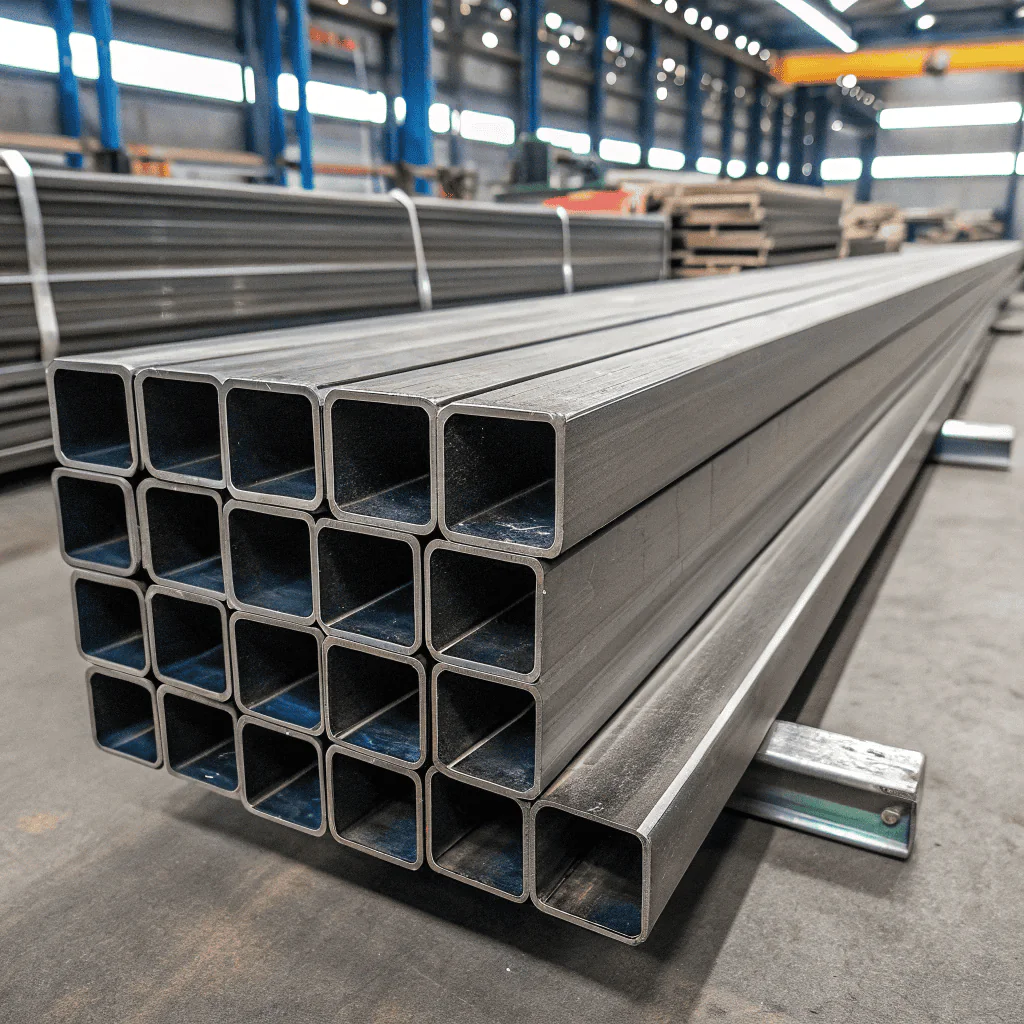
My main business is heavy steel like sheet piles, but we supply all kinds of steel products for our clients' projects, including plenty of black iron pipe. I've learned from contractors worldwide that the quality of the final job isn't just in the steel itself; it's in the craftsmanship. A simple mistake in cutting or threading can ruin a good piece of pipe and cause major problems later. Let's break down the process into clear steps so you can get it right the first time.
What Tools Do You Need to Cut and Thread Pipe?
Starting a pipe job without the right tools is frustrating. You will get poor results and waste time. Having the correct equipment makes the whole process easy and precise.
You will need a sturdy pipe vise, a pipe cutter or saw, a reamer to clean the inside, and a pipe threader with the correct die. Also, get a tape measure, a wire brush, and high-quality cutting oil. Don't forget safety glasses and gloves.

Using the right tool for the job is not just about convenience; it's about safety and quality. I've seen people try to use a regular bench vise. It always slips. A proper pipe vise has serrated V-shaped jaws that grip the round surface securely. It is an essential tool for safety and getting a straight cut. The same goes for cutting oil. It's not optional. It keeps the steel and the tool cool, which gives you cleaner threads and makes your expensive dies last much longer. Investing in the right tools from the start saves you money and prevents headaches. Here is a list of what you must have.
| Tool | Purpose | Why It's Important |
|---|---|---|
| Pipe Vise | To hold the pipe securely | Prevents slipping, ensures a straight cut and safe threading. |
| Pipe Cutter | To cut the pipe to length | Creates a clean, square cut unlike a hacksaw. |
| Pipe Reamer | To remove the internal burr | Prevents flow restriction and ensures a smooth interior. |
| Pipe Threader & Die | To cut threads onto the pipe end | The heart of the job; die must match pipe size. |
| Cutting Oil | To lubricate and cool | Extends tool life, ensures clean threads, prevents metal galling. |
| Safety Gear | Glasses and Gloves | Protects from sharp metal slivers and cutting oil. |
How Do You Cut Black Iron Pipe Cleanly?
A crooked cut ruins a fitting. It will not seal properly and your work will look unprofessional. I will show you how to get a perfect, square cut every single time.
Measure and mark the pipe. Secure it tightly in a pipe vise close to your mark. Place the pipe cutter on the mark, tighten it, and rotate it around the pipe. Tighten the handle slightly with each full rotation until the pipe snaps off cleanly.

The cut is the foundation for a good thread. A clean, square cut ensures the threader starts straight and the pipe seats correctly in the fitting. While you can use a hacksaw or an abrasive chop saw, a wheeled pipe cutter is the best tool for this job. It is designed to give you that perfect 90-degree angle.
Step 1: Measure and Mark
Use a tape measure and mark your desired length with a silver pencil or marker that shows up well on the black pipe. Precision here prevents wasted material.
Step 2: Secure the Pipe
Clamp the pipe in your pipe vise. Position the vise as close to your cutting mark as possible. This reduces vibration and wobble, helping you make a cleaner cut.
Step 3: Make the Cut
Place the cutter on your mark with the cutting wheel lined up perfectly. Tighten the handle until it makes solid contact. Rotate the cutter one full turn around the pipe. Then, give the handle a small quarter-turn to tighten it more. Repeat this process. Do not overtighten too quickly. Let the tool do the work. The pipe will snap off with a clean edge. The job isn't done yet. You have created a sharp edge, or burr, on the inside. You must remove it with a reamer. Just insert the reamer and turn it until the inside edge is smooth.
What's the Right Way to Thread the Pipe?
Threading a pipe without the right technique creates weak connections. These are prone to stripping and leaking. I will show you the professional method for strong, reliable threads every time.
After reaming the pipe, place the correct size die in your threader. Apply plenty of cutting oil. Push the threader onto the pipe and turn clockwise. After each full turn, back it off a quarter-turn. This clears the metal chips. Stop when the pipe is almost flush with the die.

Cutting the threads is where the magic happens. This is what creates the tapered profile that allows for a tight, leak-proof seal. The process requires patience and physical effort, but the technique is simple.
Step 1: Prepare the Pipe and Tool
First, make sure the end of your pipe is clean. Use a wire brush to remove any dirt or grease. Select the correct die head for your pipe size (e.g., 1/2", 3/4") and lock it into the threader handle.
Step 2: Apply Oil and Start Threading
Apply a generous amount of cutting oil directly to the end of the pipe where you will cut the threads. Put more oil on the die itself. Push the threader onto the pipe with firm, even pressure and begin turning it clockwise. Getting it started straight is the most important part.
Step 3: The "Turn-and-Back" Technique
Once the die bites and starts cutting, follow a simple rhythm: make one full clockwise rotation, then turn back counter-clockwise about a quarter of a turn. You will feel a little click. This breaks off the small metal chips being cut, preventing them from jamming the die. Continue this process, adding more oil every few turns. Stop when the end of the pipe is just short of being flush with the outside face of the die.
How Do You Avoid Common Mistakes When Threading?
Simple mistakes can force you to start over. This wastes expensive pipe and your valuable time. Knowing the common pitfalls is the key to avoiding them completely.
Avoid mistakes by using a sharp cutter and die, and never forget cutting oil. Make sure the pipe is securely held in a proper vise. Do not overtighten the cutter, and do not over-thread the pipe. Over-threading will result in a connection that bottoms out before it seals.

I have seen countless beginners make the same few mistakes. Learning what they are is the easiest way to ensure your project goes smoothly. The number one sin is not using enough cutting oil. I saw a guy try to thread dry once. He destroyed a new die in less than a minute. Do not make that expensive mistake. Over-threading is another classic error. You think tighter is better, but pipe threads are tapered. If you cut the threads too deep, the fitting will screw on too far and will not form a tight seal against the taper. A properly threaded pipe should leave a few threads showing when you tighten a fitting by hand.
| Common Mistake | The Consequence | How to Avoid It |
|---|---|---|
| No Cutting Oil | Damaged tools, poor quality threads | Always use a generous amount of high-quality cutting oil. |
| Dull Cutter or Die | Torn threads, hard to turn | Inspect your tools. Replace worn cutter wheels and dies. |
| Crooked Start | Angled threads, impossible to seal | Apply firm, even pressure to start the threader squarely on the pipe. |
| Over-threading | Fittings will not tighten properly | Stop threading when the end of the pipe is almost flush with the die. |
| Forgetting to Ream | Restricted flow, potential blockages | Always ream the inside of the pipe immediately after cutting. |
Conclusion
Mastering cutting and threading black iron pipe is about using the right tools and a careful process. Follow these steps for safe, leak-proof connections in all your projects.
About John Smith
John is a senior technology writer with over 8 years of experience covering emerging trends in software development, AI, and digital transformation. He has contributed to major tech publications and speaks at industry conferences worldwide.
Related Articles
New vs. Used Sheet Piles: What's the Best Investment for Your Project?
Trying to save
